
Open a Keep account
You sign up at easytech.keep.co.il, then go through five short steps: personal details, choosing services, business details, login details, and finishing signup.
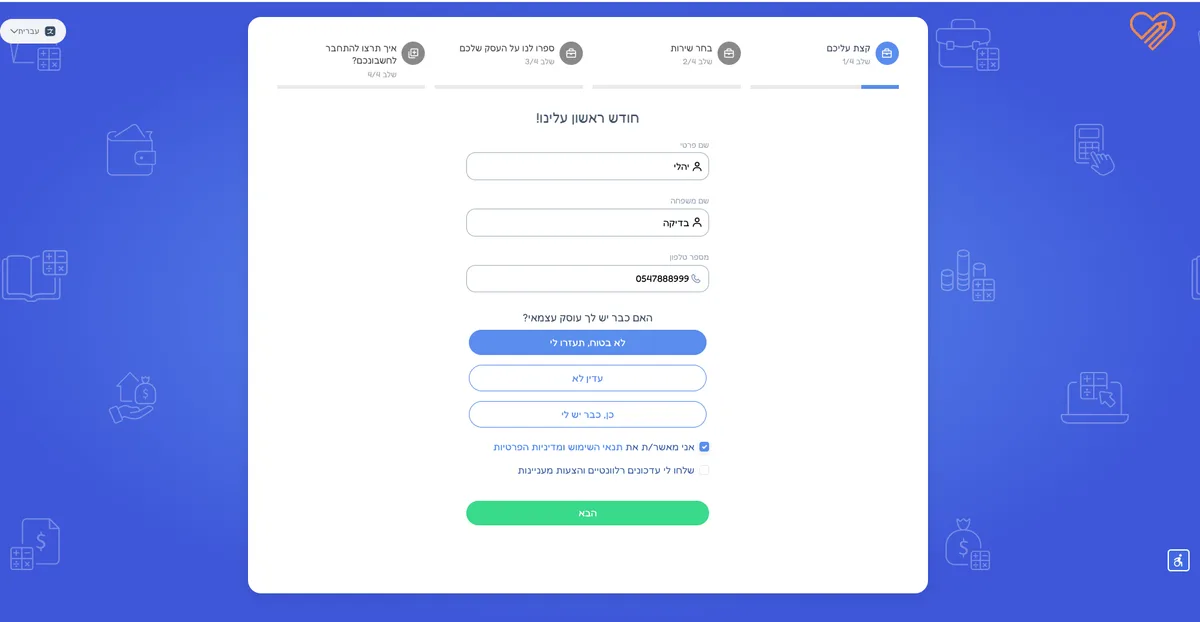
Step 1 · A bit about you
Fill in your personal details.
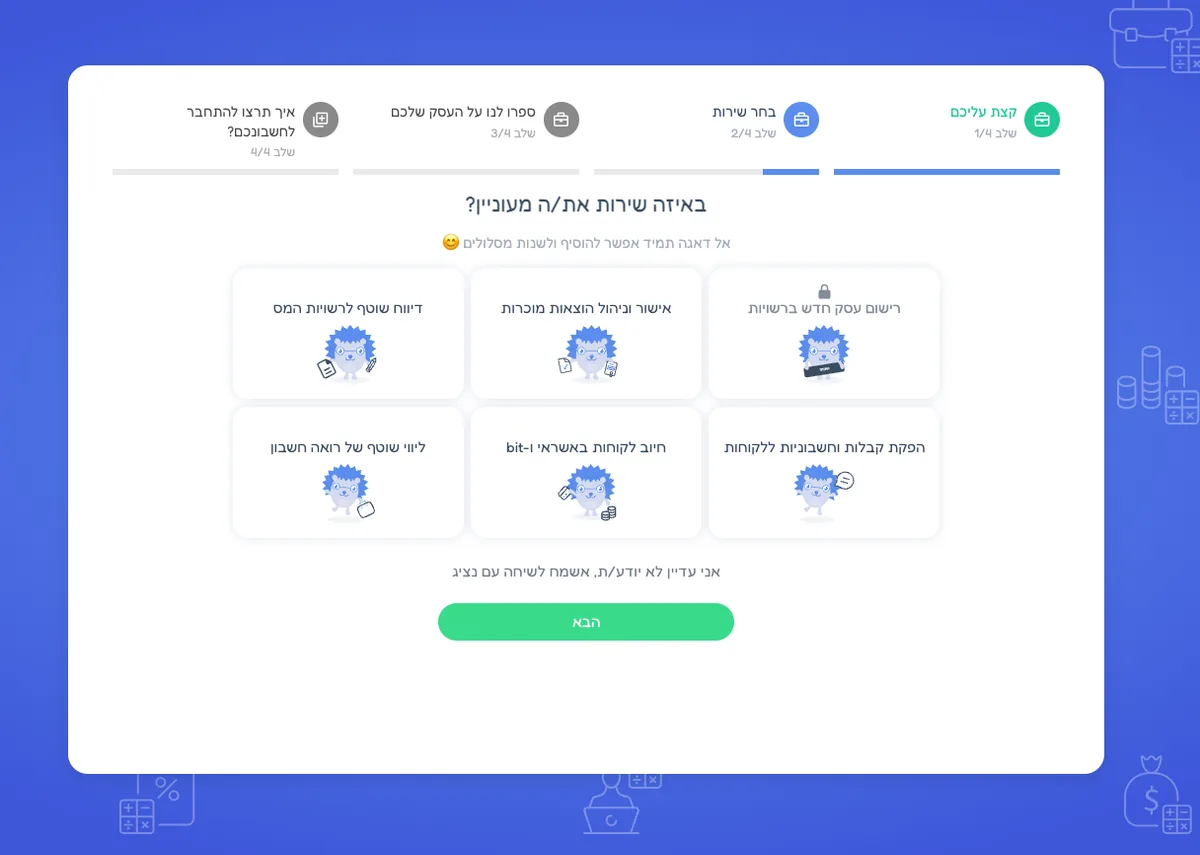
Step 2 · Choosing a service
Choose the services you want. Registering a new business with the authorities is a full Keep service: from opening the business, through clearing, to issuing invoices. To enable clearing, select «חיוב לקוחות באשראי» and «bit».
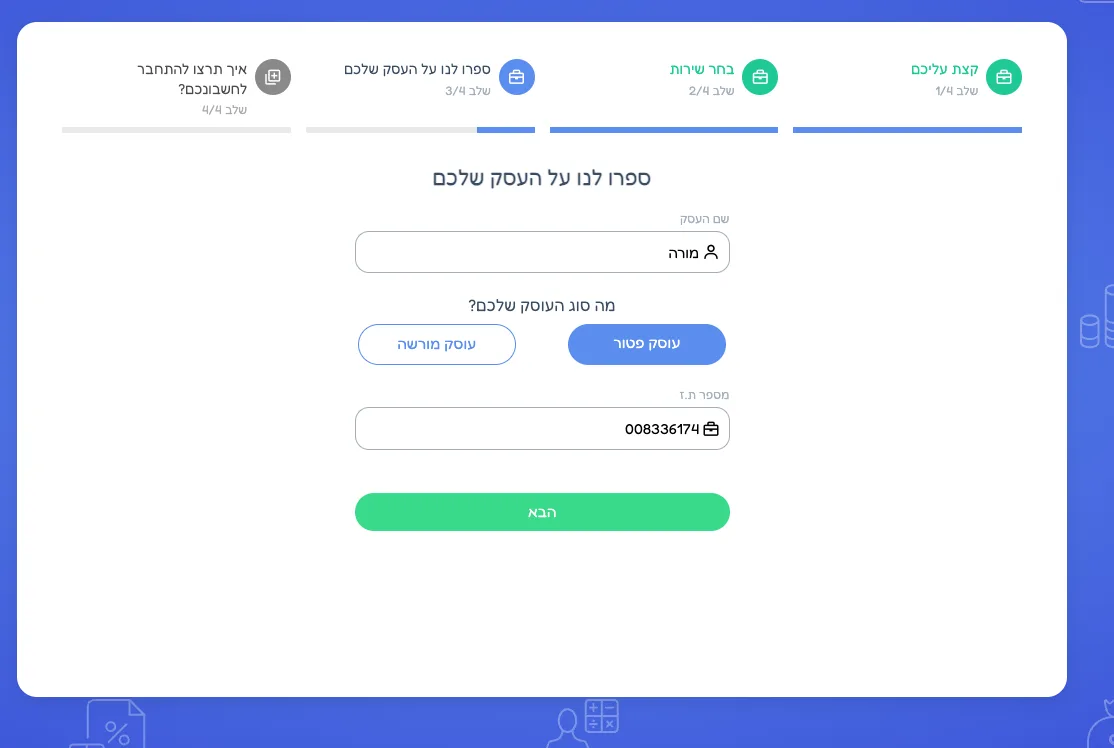
Step 3 · Tell us about your business
Enter your profession and choose your business registration type.
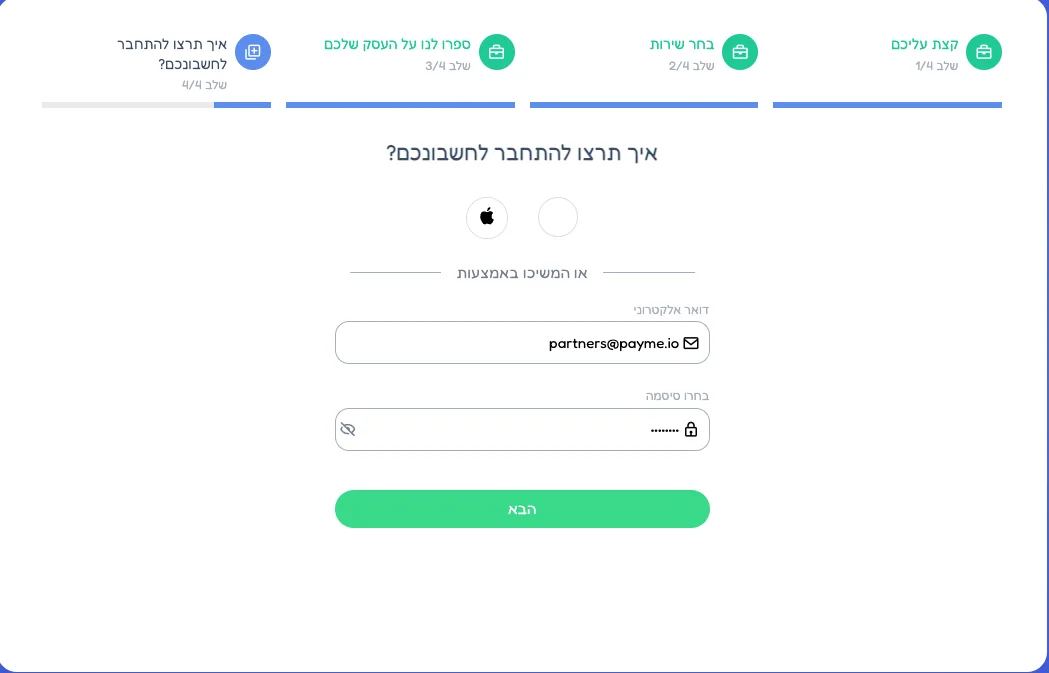
Step 4 · How you'll sign in to your account
Enter an email and password, then press «הבא».
Step 5 · Finish signup and complete your details
Press the green button.
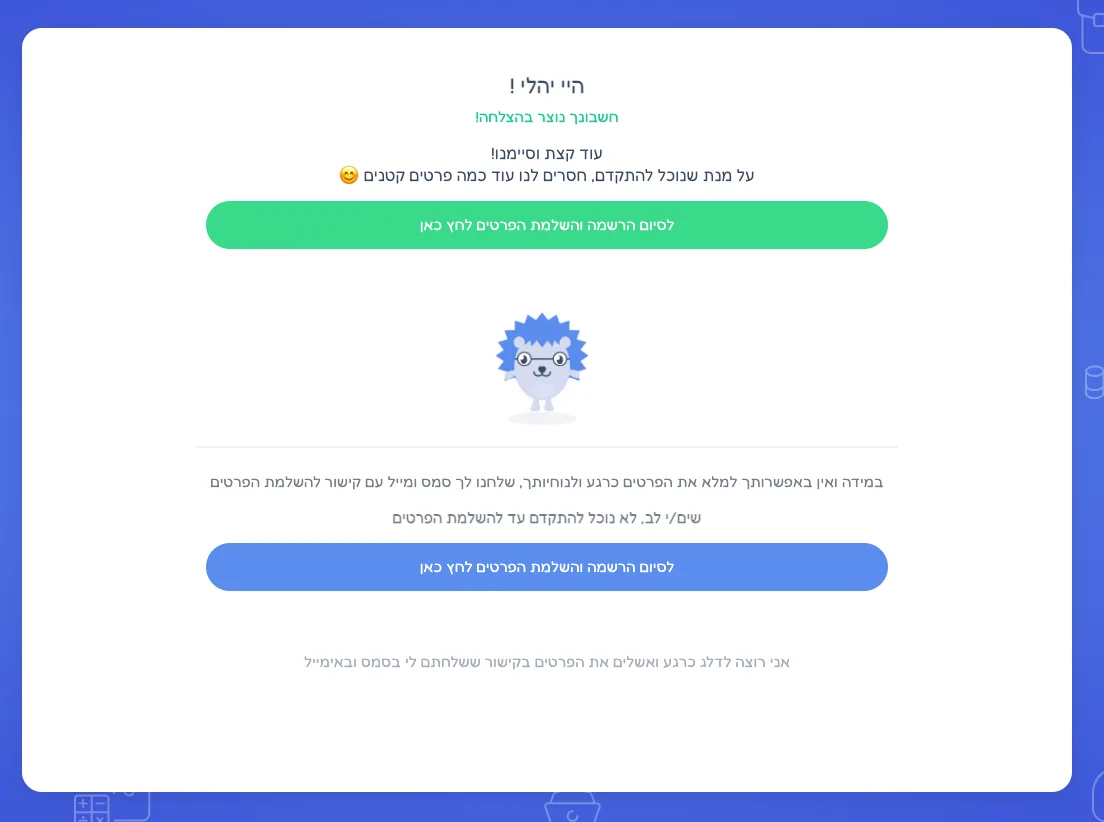
Completing details for tax authority representation
At this stage you enter details such as date of birth and expected income, upload identifying documents, sign for representation before the tax authorities, and fill in payment method details.
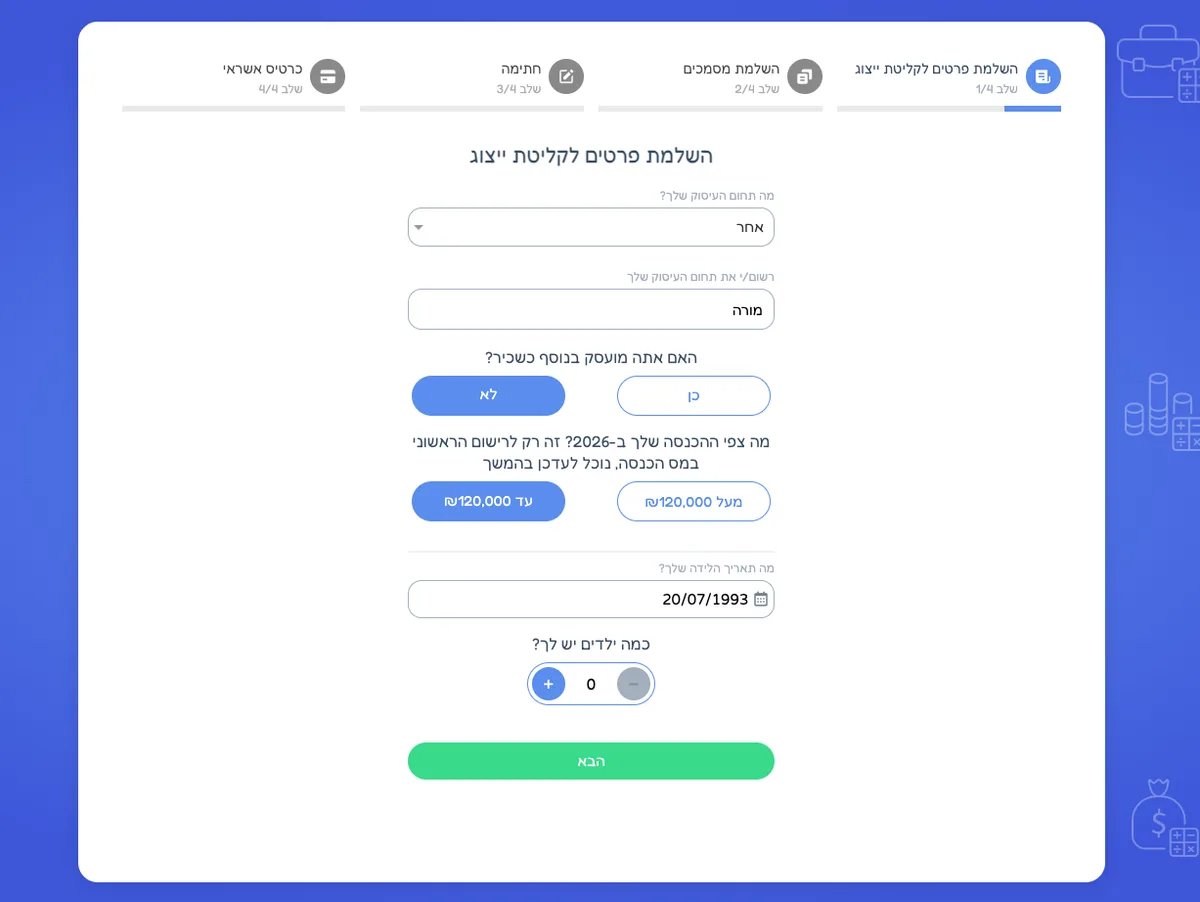
Part 1 · Details for registering representation
Date of birth, expected income, and so on.
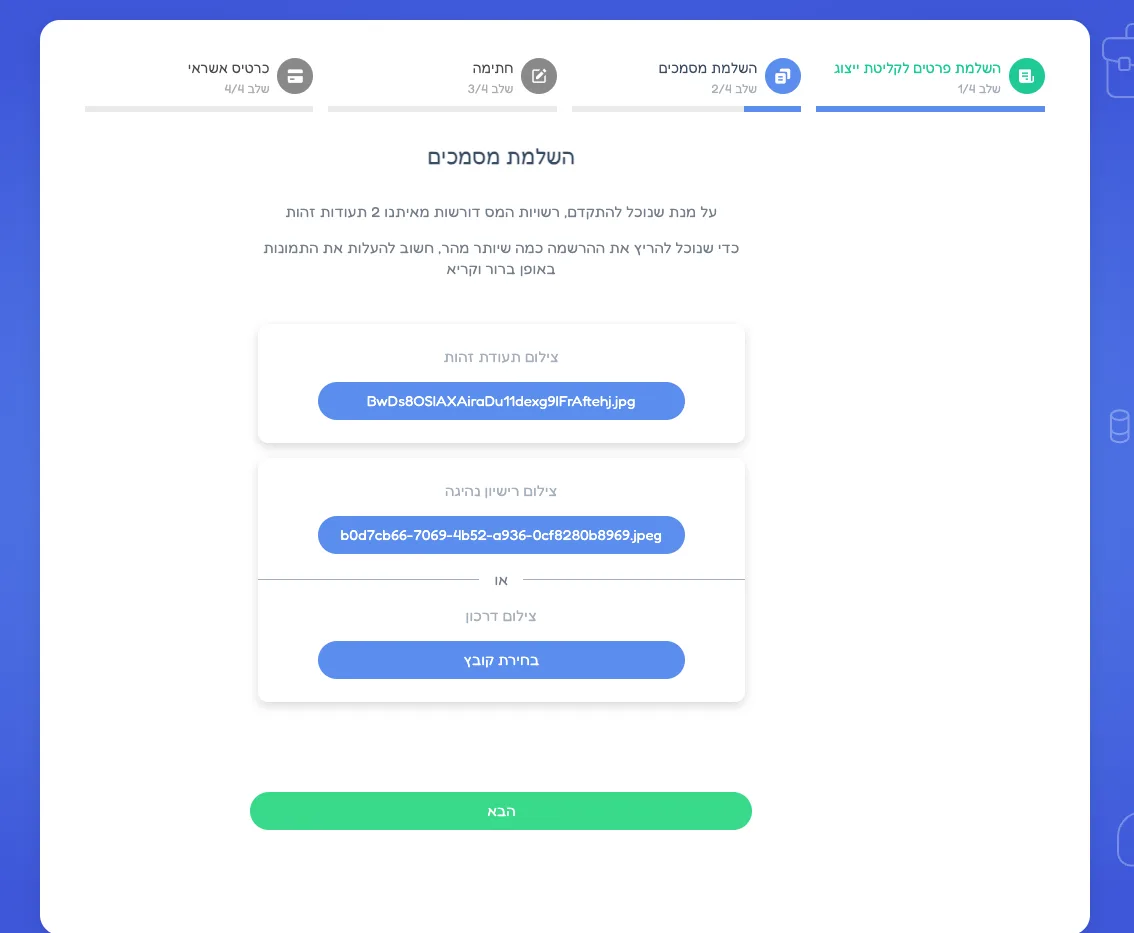
Part 2 · Uploading documents
Upload the required documents (two forms of ID).
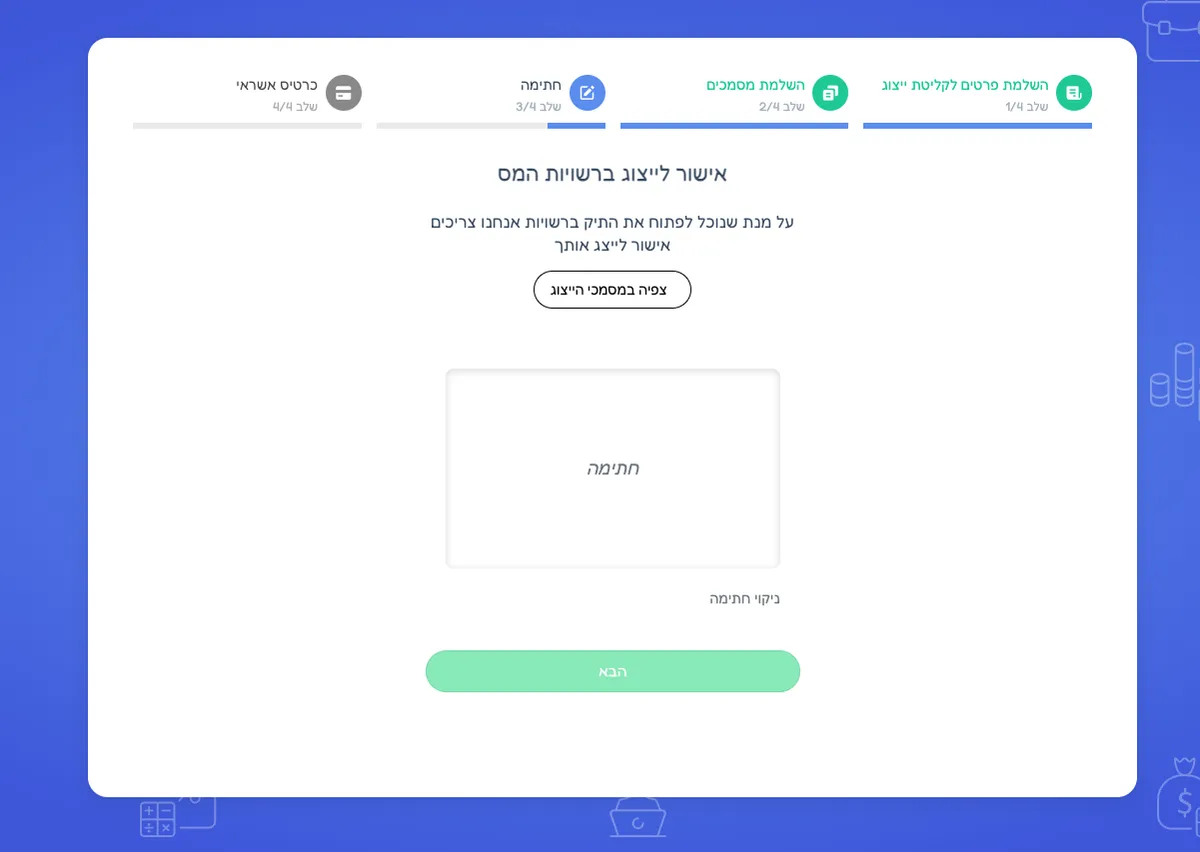
Part 3 · Approving tax authority representation
Sign in the place provided.
Part 4 · Filling in payment method details
Once everything is complete, sign in to the account you created (with the email and password you chose earlier).
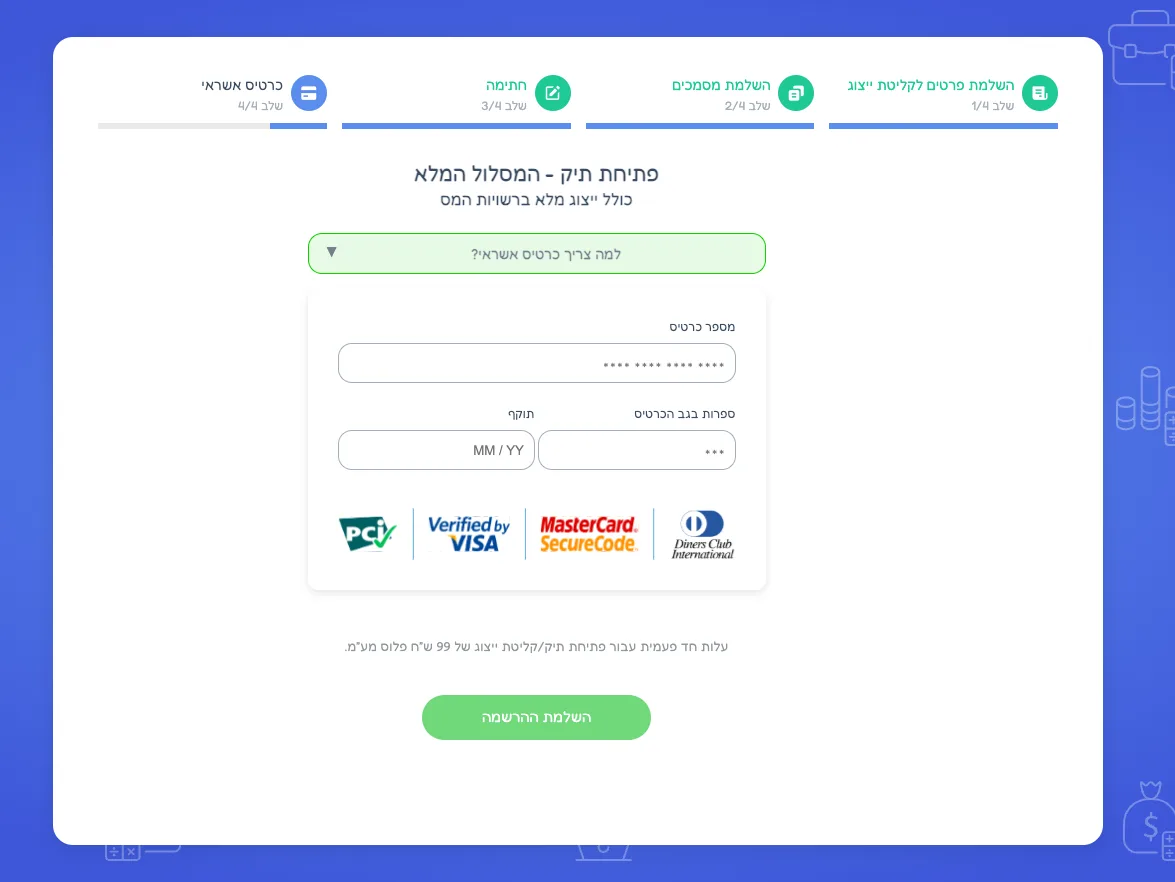
All your details were received. From here, sign in to the account and continue to the next stage.
Enable credit-card clearing
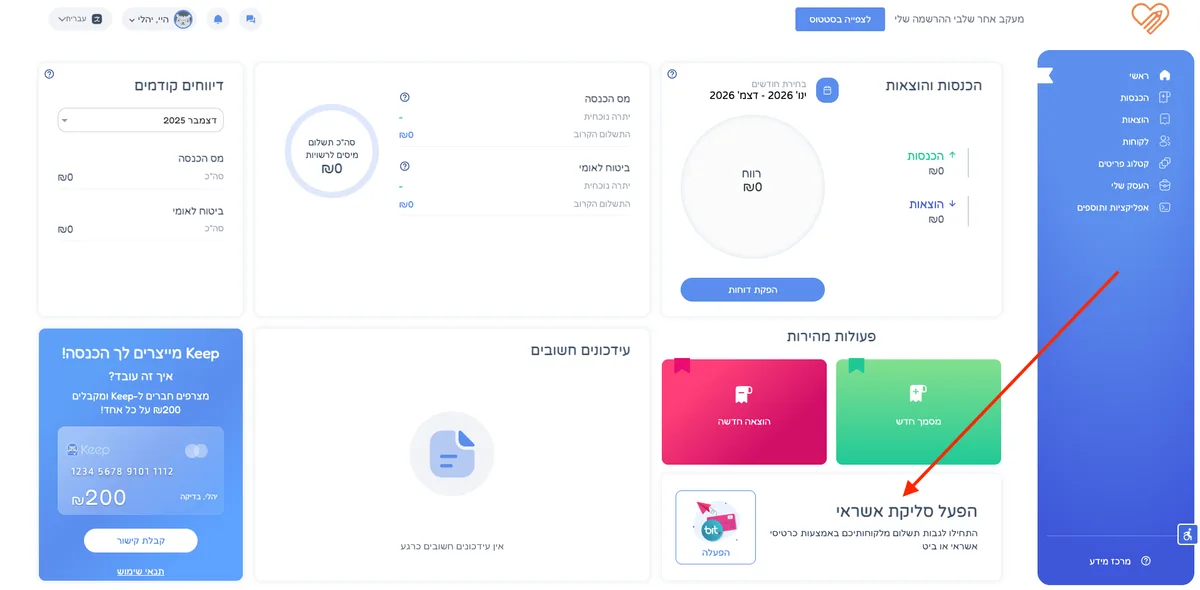
After signing in, select «הפעל סליקת אשראי», then upload the required documents and fill in the details.
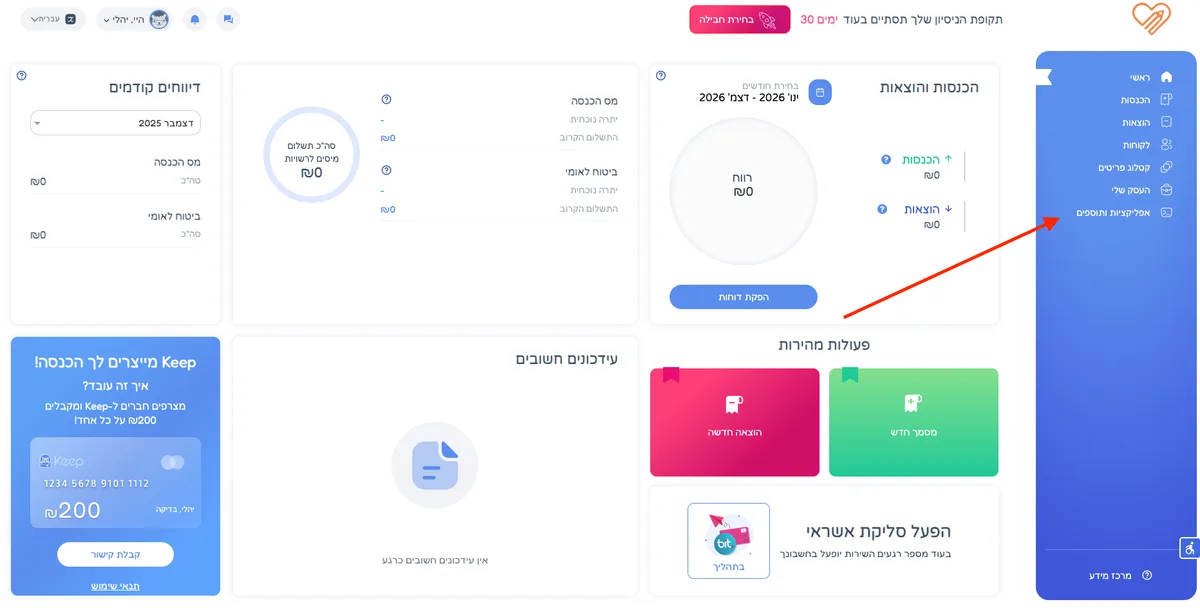
In the dashboard
Select «הפעל סליקת אשראי».
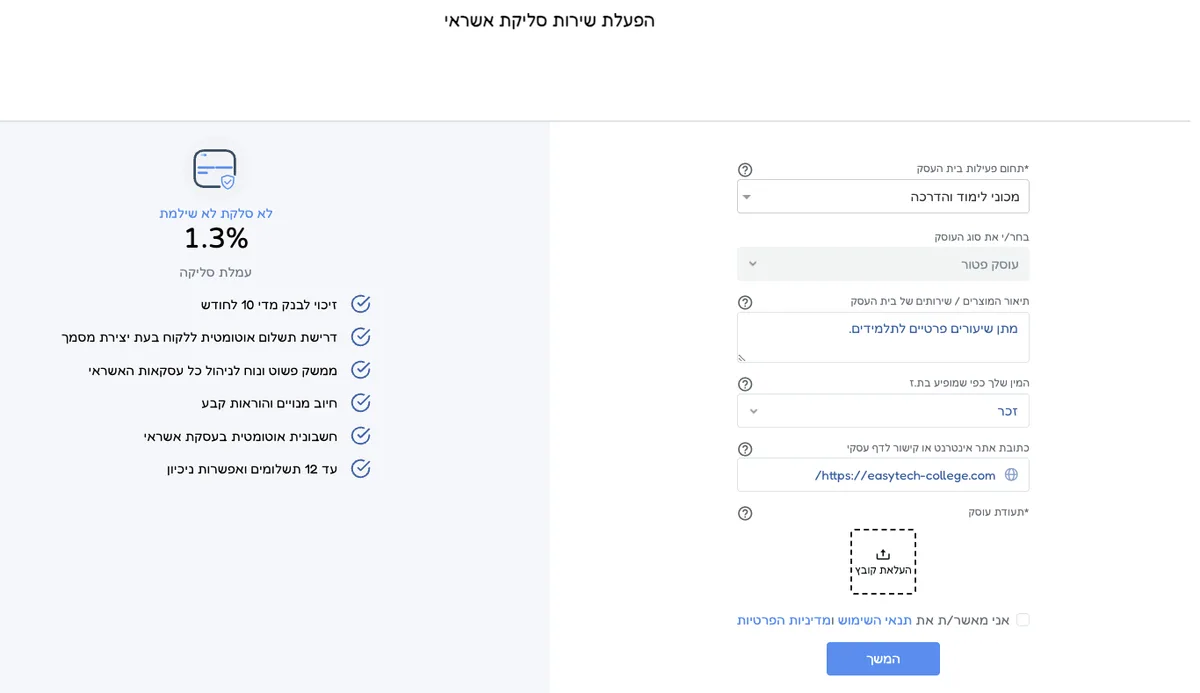
Business details
Note: in the website field, enter the link to your own tutor page — the one shown below, copy it as is — not the general easytech.college link. Choose a fixed activity area of «מכוני לימוד והדרכה», and upload your עוסק פטור/מורשה certificate according to your registration type.
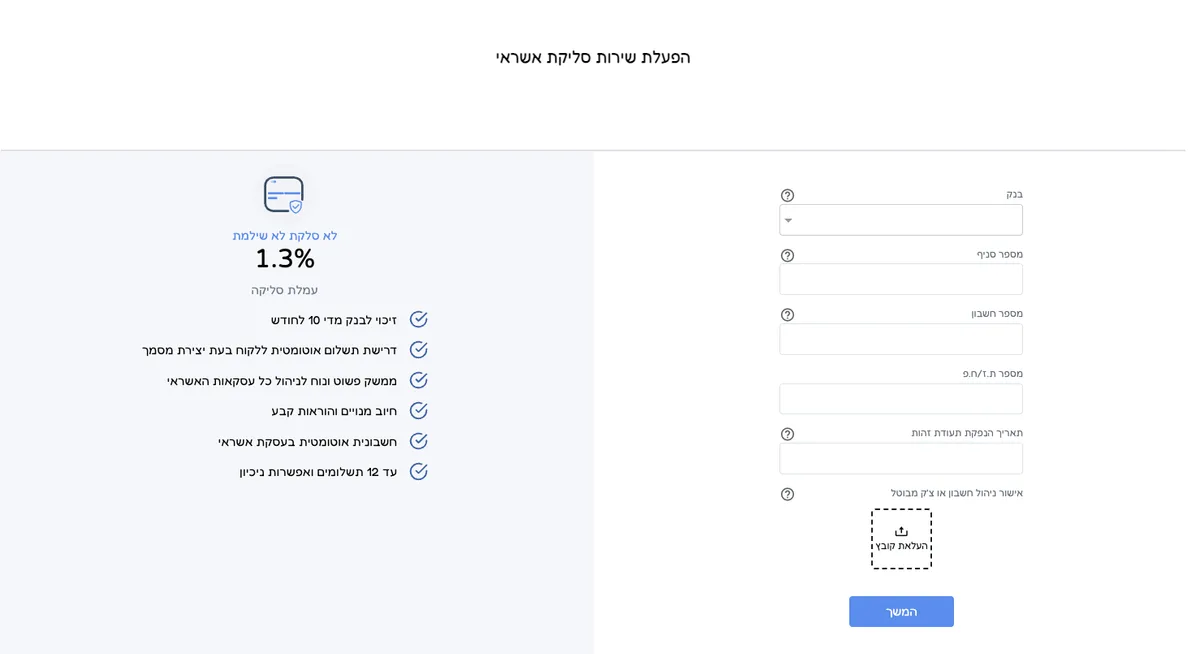
Bank details
Press «הבא» and fill in the details here too.
Further business details
Press «הבא» and complete the remaining required details.
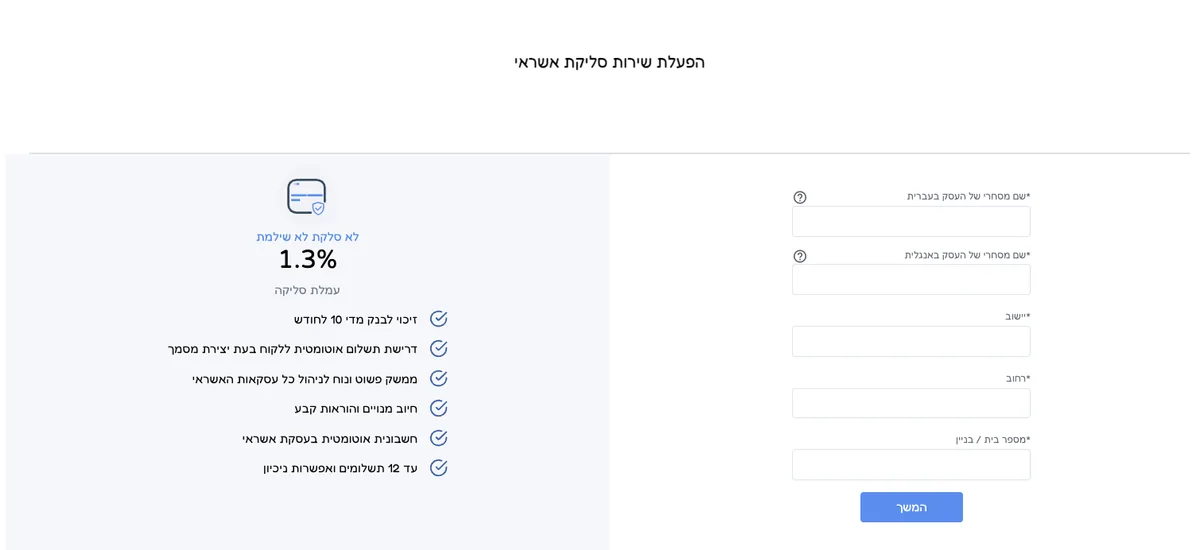
Request sent
All the details come to us for review. If everything is in order the account is verified and you can start taking payments.
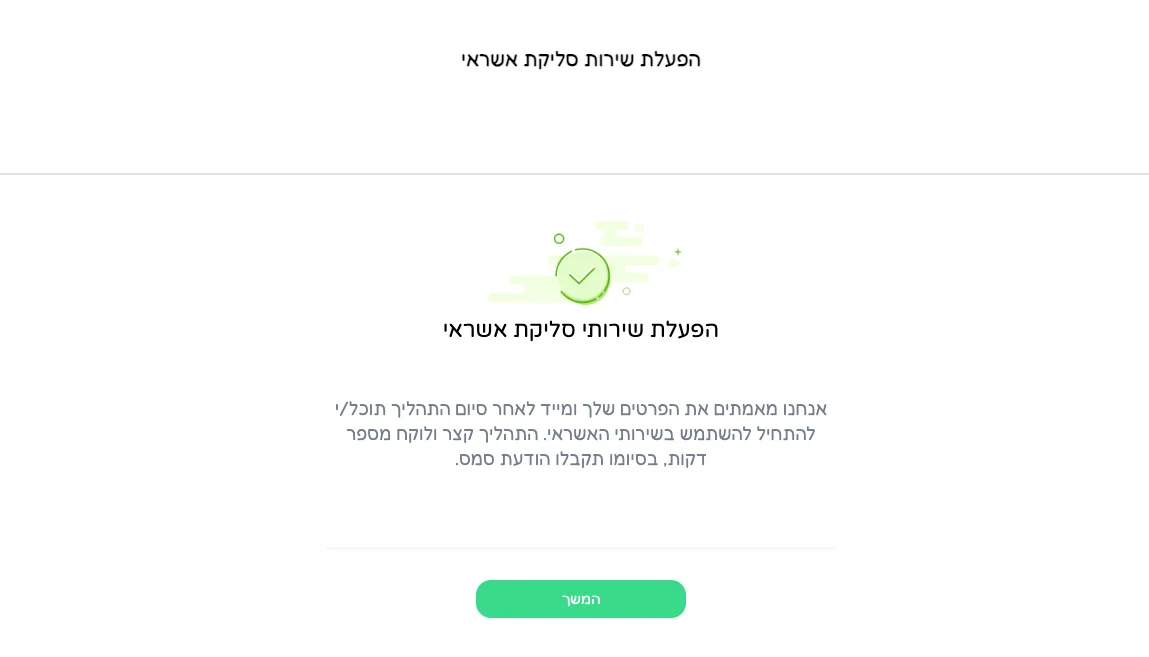
Connecting clearing to your account here
When you get an email, or see in the dashboard that your documents were approved and the account verified, copy the Seller PayMe ID and connect it to your account here.
Home page
Go to «אפליקציות ותוספים».
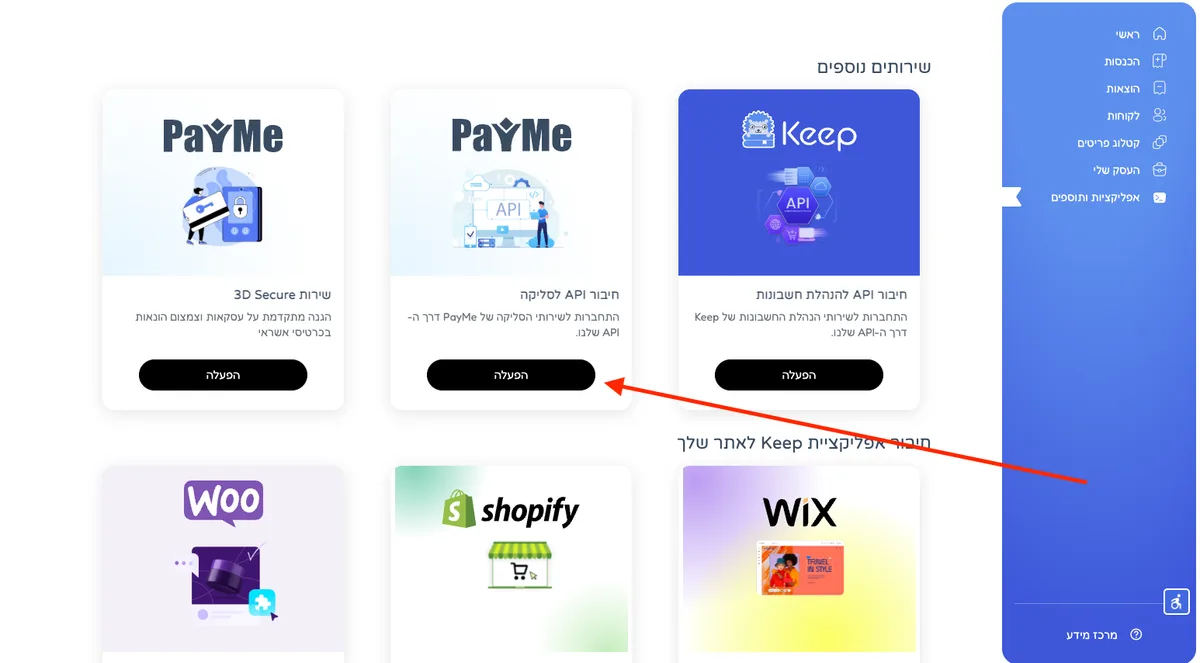
Connect the clearing API
Select «חיבור API לסליקה» and press «הפעלה».
Upgrade your plan
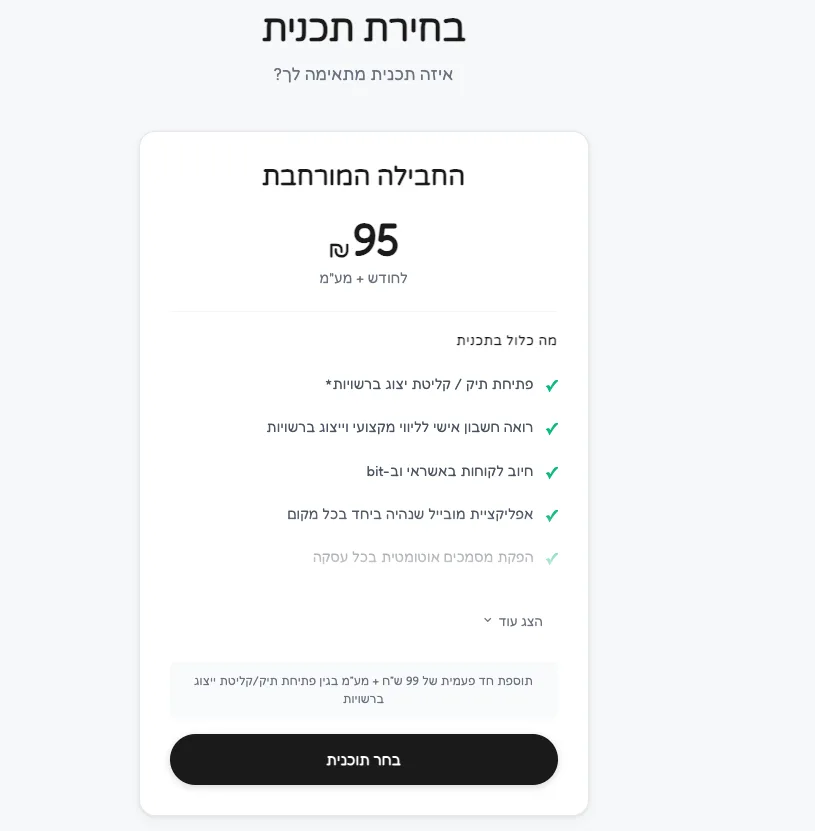
Select «שדרוג תוכנית» and upgrade the basic plan to one of the plans offered. Pressing «בחר תוכנית» charges the credit card registered on the account; if no payment method is registered, you will be asked to add one.
Copy the Seller PayMe ID
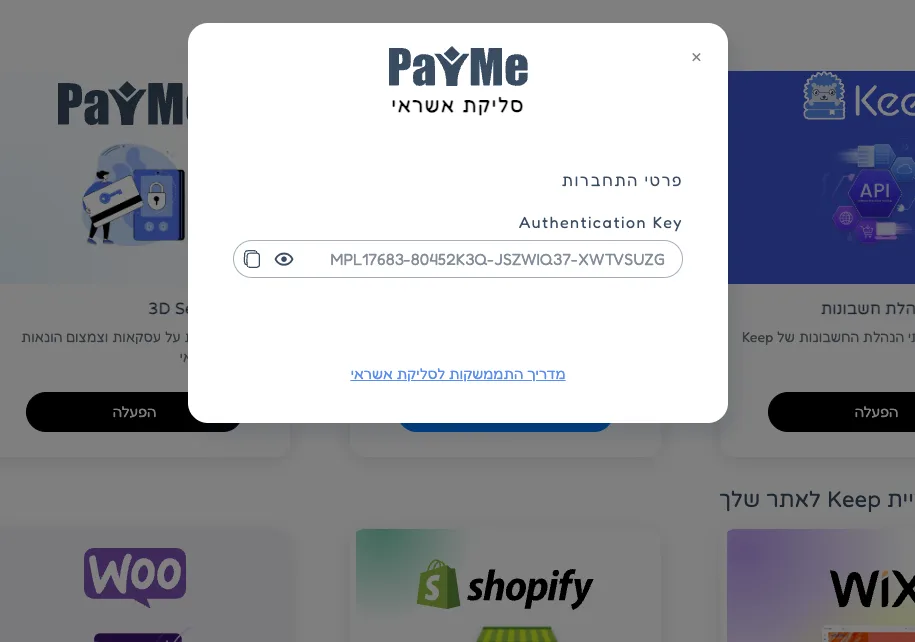
Go back to «אפליקציות ותוספים» → «חיבור API לסליקה» → «הפעל תוסף». Pressing «הופעל» opens a window showing your Seller PayMe ID key. Copy that value and paste it into your payment settings here to enable clearing.
Ready to start?
Signing up takes about fifteen minutes. Questions along the way? We're here to help.